-
Showing posts with label Style by Design. Show all posts

Saturday, May 17, 2014

Pretty As A Picture, Guest Room UpDate...

I love my Black & White Guest room with touches of Red... & NOW gold! I love to re purpose & re-use items in new places..While getting the Guest Room ready for company recently...I decided to deep clean the room. When I finished..I moved a few decor items in, out & around the room. The Room basically  stayed the same, I just moved a few things around and added touches of Gold. Loved how it turn out...Take a look...
 A collage of empty frames, pictures and mirrors compliment the Dress Form beside them.
 The focal point as you look into the Guest bedroom.
This Dress Form was a gift from a wonderful friend...perfect for my room!
The full view of this wall...
This room has a bump out window area which showcases the king size bed.
Accents around the room...
Same photo shot...different photo filters.

Refresh a Room with  Accents & Style...

 photo photo-12_zpsb1f5b574.jpg
Continue Reading ...

Monday, December 16, 2013

Pretty Little Christmas Mirrors & More...

Pretty miscellaneous Christmas decorations finish out the Living Rooms decor...
 These Mirrors are in the Living room year round & placed near the piano...
A night-time photo...
This year I decided to dress them up a wee bit with a variety of Christmas crystals.
 The wreath placed at the top of the stairs.....
Love these Angels...
The front entry...
 Another area in the Living Room...
 The tree at the base of the stairs...
 The garland & stairwell...
The Front door...
Ready for Christmas with Style...
XO, NeeCee
Continue Reading ...

Tuesday, December 10, 2013

How to Decorate a Christmas Tree...

How to decorate your Christmas tree the Pine Creek Style way...My version is just  that...My version. I am sure there are a ga-zillion articles posted on this subject....BUT this is what works for me...and now several friends, family & my kids are using my method. It seems to work for them!
Every year someone says, "Tell me how to decorate MY tree like that!"
So here is my untrained opinion on the topic. Have fun, enjoy......
I have two trees this year...this one is my Kitchen Tree...
And this is my Living Room Tree...
 Start with your tree, check the lights and add any additional lights at this time.
Also place your tree topper on the top and if lighted, check lights.
Don't worry about straightening the branches. Do that as you work and add the garland & ornaments.
Leave the lights on while you decorate. It helps with placement of the ornaments.
 Place your Christmas tree skirt (or whatever you use) around the base of the tree.
On this tree I used a yard & a half of burlap around the base. I also placed my cow hide rug under the tree.
I choose large items I am going to place near the tree , and put them in place.
Sometimes, I move them around until I get the look I want.
This year I wanted to use my dress form & maybe a chair.
 Next decorate the top of the tree...front
 And back!
Then I add the garland....I decide the look I want then, I attach the garland.
This year I used 2 garlands, burlap and a gold-ish colored shear. Start at the top and work your way around the tree.
 On this tree I placed the garland in a diagonal fashion, alternating the colors. I use the branches to secure the garland in place. I make it a little puffy to give a look of fullness & add demention.
Continue around the tree, adjust as needed!
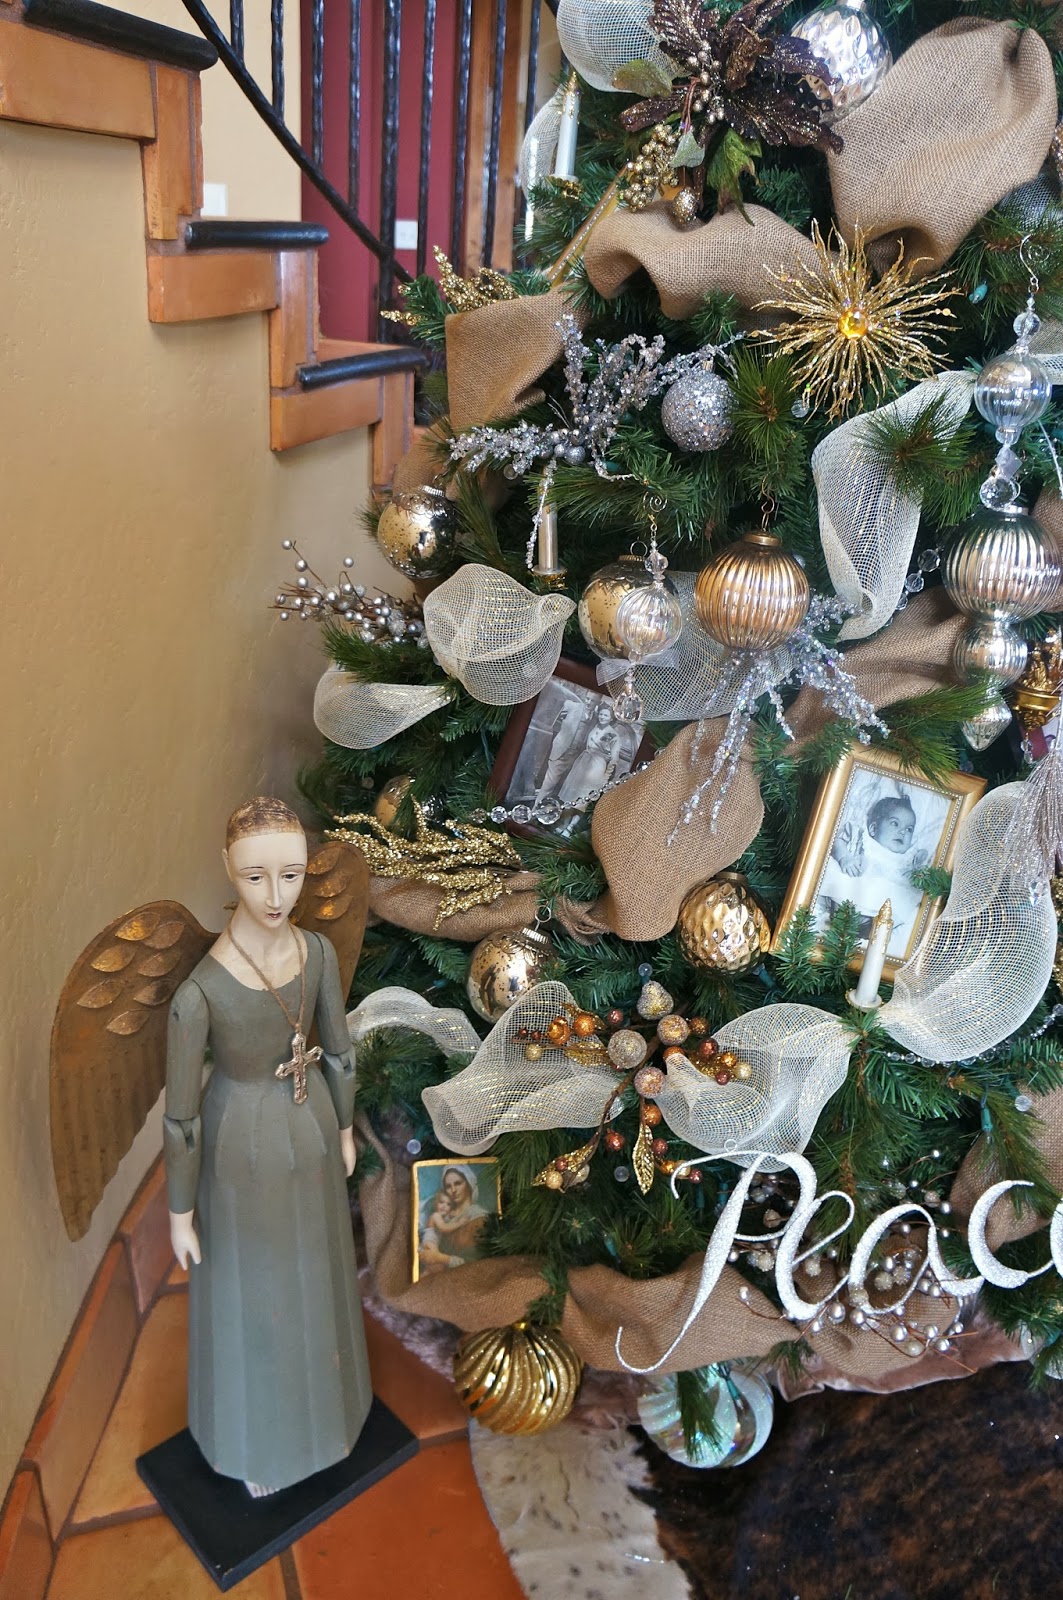
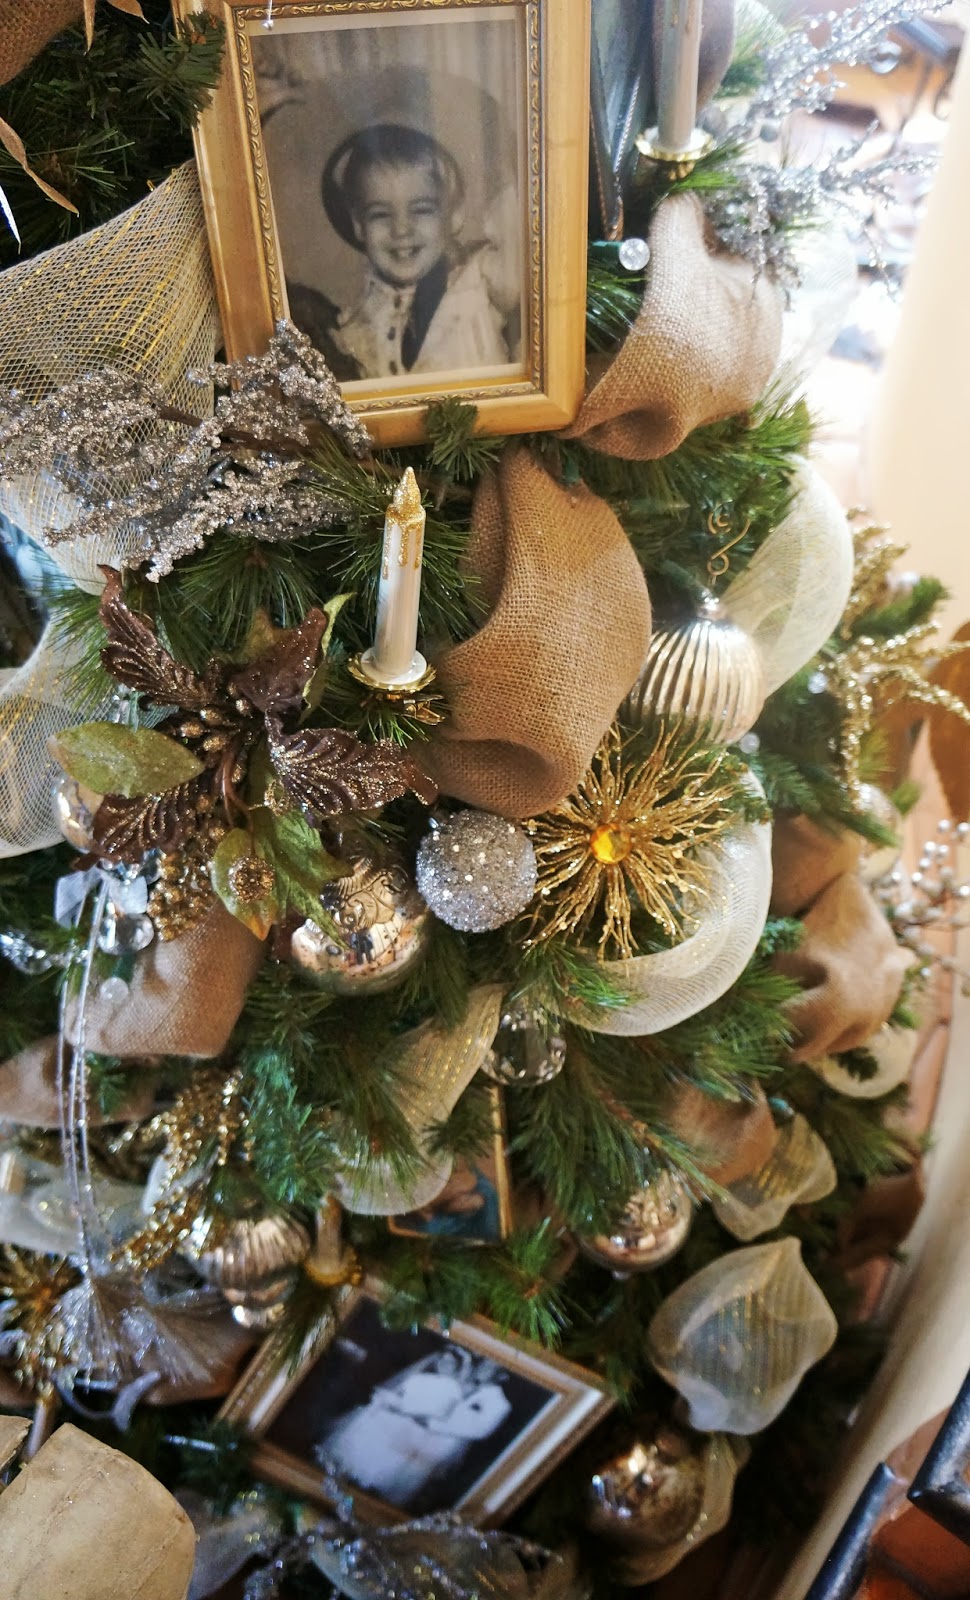
 I start with the largest items for the tree first. I used framed black & white photos this year. Same thing for signs and large ornaments. Work around the whole tree. Make sure you look & place items around all the sides. Alternate your pattern while spacing. Secure items with branches.
 Start adding ornaments, I try to do groupings of 3, and alternate the sizes. Example: 2 medium ornaments & 1 large ornament. The next grouping could be 2 large & 1 medium. Have fun with it!
Before you start, choose your colors & theme. I like to add different styles of floral picks, but keep them in the same color scheme.
The colors on this tree was silver & gold with a touch of bronze. The only additional colors are the muted old world wooden pictures of Mary & Jesus.
 I added a mirror on a low easel and a champagne bowl with scented pine cones.
And a couple of necklaces on the dress form along with a bronze floral picks.
This is a special photo I added this year for my Dad. We lost him last Christmas to Cancer. He shared with me his "love of Christmas" and his decorating ideas. He loved the Holidays!  He made a living as a mail carrier & a fireman. The framed photo is from his special tree last year that includes a photo of him while on his mail route.
A view from above....

Merry Christmas with Style...
NeeCee Signature
Continue Reading ...

Sunday, December 1, 2013

Our Vintage Family Photo Christmas Tree...

This past year has been full of blessings & heartaches. I wasn't sure how I wanted to decorate my living room Christmas tree this year. I had lost my Dad last Christmas, and had decorated last years tree just for him! He loved Christmas & he taught me to LOVE everything about Christmas too! So...I wasn't looking forward to decorating (without him here) this year! He had given me his large Christmas tree several years ago and he looked forward to each years special decor. He would proudly boast to everyone (who'd listen) about my Christmas decorations, and every year I would aim to please his eager anticipations. What to do???
THEN...
Our daughter called about 3 weeks before Thanksgiving...
I had just finished putting away the Halloween decor and had carried all of the Thanksgiving decor downstairs.  
"Mom? I need to do a photo shoot! Would you mind decorating for Christmas early???...Mmmm, maybe just the kitchen or the living room or both or either one??? It would make a great Christmas photo shoot since I'm taking the blog public!?!", Tara said ( The Trendy TreeHouse, see here ).
Of course I agreed, like any MOM would do!!! I was very excited for her & her blog. 
Anything to help.
So I hauled the Thanksgiving boxes back upstairs and started on the Christmas decor!
I had been secretly dreading decorating for Christmas & had even thought about not decorating at all...
Sooo, now I really had to decide how to decorate my tree this year and quick!
Amongst our  many Blessings this year was the celebration our 40th Anniversary and our amazing Hawaiian Wedding renewal.  So with that, I decided to do a family photo Christmas tree.
I wanted my living room tree to represent family, multi generations, our beginnings as a couple, then later as a family. And, I really wanted my Dad to be with ME this year...so this was the perfect way for me to accomplish this feat.  I hope you enjoy the photo's of  "Our Vintage Family ChristmasTree"...
 My baby photo...
A view from above...
 My Dads photo on top, our daughter Tara below...
Our son on the top & my parents wedding photo below...
 Here's to you & me Dad, Merry Christmas...I miss you!
 Our wedding photo below & Hubby parents above...
 This Cross is always on our Tree, to remind us of the reason for the season!
 My Five Generation Family Photo...I am on the far left, standing, ( my sisters), My Mother, Grand Dad, Great Grandfather and my Great-Great Grand Mother- Lucy! 1960's era...
These are just a few family photos that are displayed on the tree.
 The tree at night...
Another night shot...
My Dad's Special Tree Last Year...Representing his birthstone & cancer colors of purple & green.
He loved this tree "The Best" out of all the ones I had done to this date. 
See Dad's Christmas Tree post here...
 The magic of Christmas is believing...
The whole Family loves how this tree turned out! Can't wait for our friends to see it and hear what they think! Have a wonderful Christmas Season, xo, NeeCee
Our Vintage Family Generation Christmas Tree...
NeeCee Signature
Continue Reading ...